Jason is a good friend of mine, and an amazing photographer. He’s awesome, but we have one point of disagreement: the extent to which ‘iPhoneography’ – capturing and editing photos with one’s mobile phone – is changing the landscape of photography. He still likes to rock photography old school, even when he’s taking pictures with his phone – he uploads to his computer and edits the pics using conventional digital photo editing software. Me, I use camera+ and Snapseed and my photos rarely see the glare of my computer screen until they’re posted online. He’s providing his take today – and his secrets. I’ll follow up with mine.
Take it away, Jason…
Don’t get me wrong. I love Instagram.
The pretty filters. The neato sharing. The commenting. All wonderful. All addictive.
For me, Instagram and photo apps like it are great fun. But when it comes to my best (and favourite) photos, I give them the executive treatment. I don’t edit them on my phone or tablet. Instead, I send them over to a real photo processing program to make them just right.
I’ll bet you’ve got some special shots too – the ones you frame, enter into contests and give as gifts. And I’ll bet you want to give them the executive treatment too. That’s going to mean sending them to an honest-to-goodness computer outfitted with a real photo editor like Lightroom, Aperture or Photo Director.
You can get lost in the ins and outs of these programs (and do that – it’s a lot of fun). But when you’re getting to know them, they can be a bit overwhelming. So here’s a shorthand guide to how to make your best snapshots look even better. These are the things I do first.
Fix the glaring problems first.
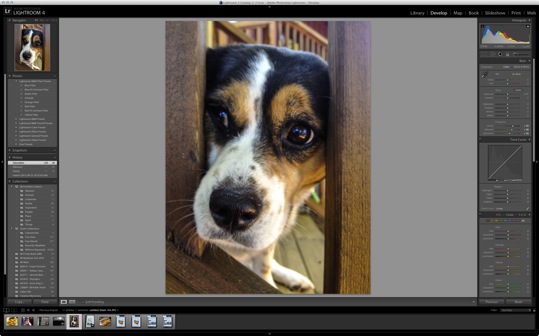
It goes without saying that you want to start by taking a good photo. Once you’ve done that (and imported it into your photo app of choice), look for problems. Are there blemishes on the person’s face? Does it need to be cropped? Is it too dark and needs a bump in exposure? Fix the problems so that you can focus on the little details.
 Got lucky with this one – good exposure, but it’s a bit blurry. Sharpening will fix that.
Introduce yourself to the “Clarity” setting.
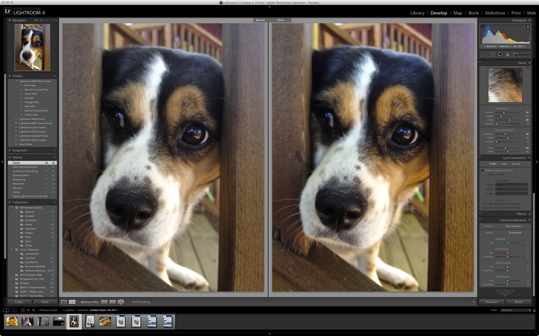
Check out the before and after – the “Clarity” slider gives things a little more pop.
Most photo apps come with a “clarity” button or slider – or as I call it “pop” button because it makes photos pop. This little miracle changes the “mid tones” of a photo, adding some great contrast. It’s very useful when you want to add some mood or texture to portraits or landscapes.
Add loads of colour (it’s ok).

Adding a whack of colour overcame the flat lighting of the overhead clouds.
Ever walk into an electronics store and look at the TVs? They’re all bursting with colour – a little tactic they use to make you want, want, want. Pro photographers use colour sparingly, but these are your snapshots – earmarked for family and friends (rather than gallery walls). It’s ok to drench the images in a little more colour. Turn up the “Saturation” settings a little higher.
Get comfortable with “sharpening.”
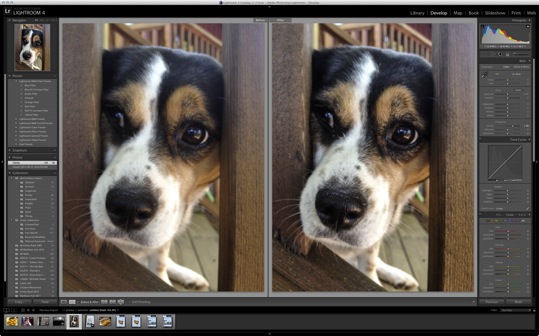
 Added some serious sharpening and here’s the “before” and “after.”
“Sharpening” is what it sounds like – it’s the process of making fuzzy elements of a photo look sharper. And while there are lots of reasons for this (quality of lenses, converting analog signals to digital ones), all you really need to know is this – virtually every photo you take can use a bit of sharpening. It’s the perfect finishing touch to making your photos look better. Every program handles Sharpening a little differently, so hit the Google to find a guide that works for you.
And there you have it – four steps that instantly give a better look to all your very best photos.
You see how this post is on my Intel Digital Life page? That’s because it’s part of the series that you see here, on this humble page, about living la vida digital – my own digital life, and the digital lives of some of my peers, like Jason – which is also part of this whole storytelling exercise over here, on Facebook. You should check it out.


